0
Skip to Content
Home
Services & Pricing
Custom Knives
Sharpening
Rehandle
Repair
Gallery
About Us
About
Contact
Store
Open Menu
Close Menu
Open Menu
Close Menu
Home
Services & Pricing
Custom Knives
Sharpening
Rehandle
Repair
Gallery
About Us
About
Contact
Store
Home
Folder:
Services & Pricing
Back
Custom Knives
Sharpening
Rehandle
Repair
Gallery
Folder:
About Us
Back
About
Contact
Store
Back
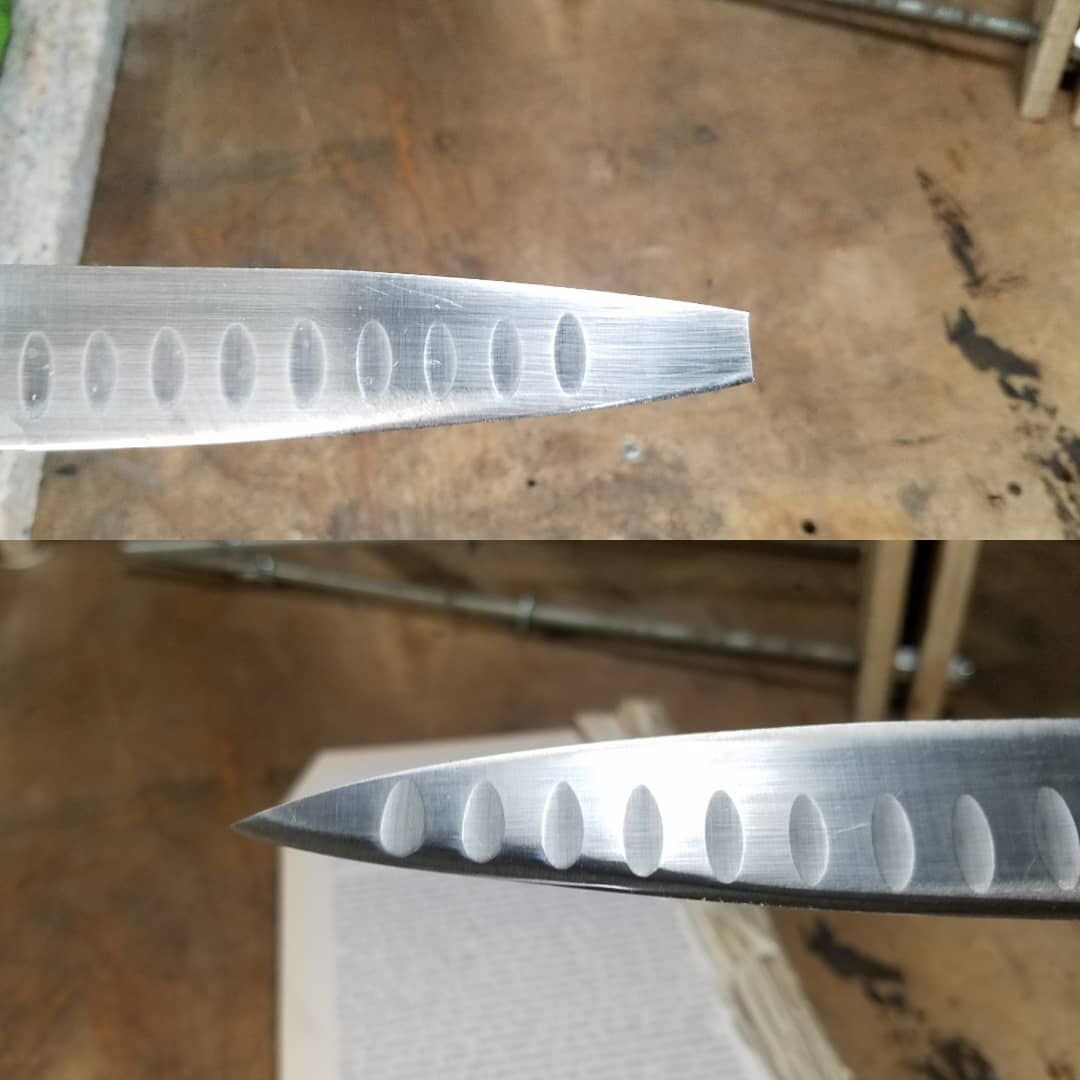
Before and After
Back to Gallery